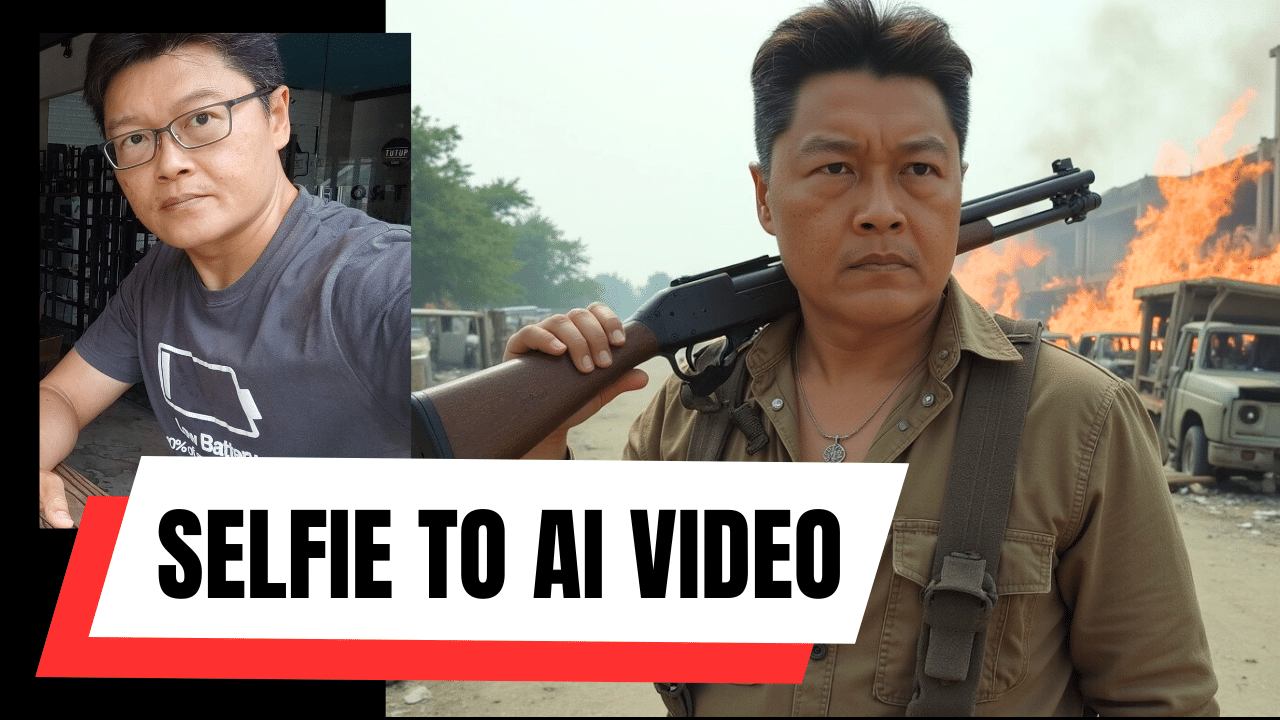
Do you want to be the main character in a TV show? Now you can do it with just a few selfies.
I’m going to show you how to generate photos and videos of yourself, in any location and environment you can imagine.
Here are a few examples I made earlier. Anyone can do it even if you don’t have a powerful machine, because it’s all done in the cloud.
Here are some examples I made:
To achieve this, we will use AI in a few ways:
- First, we will train an AI LoRA to learn what my face looks like, using a few selfies
- Then, we generate AI images of myself in fantastic scenarios
- Finally, we will animate those images using AI video generation tools
PART 1: Train a LoRA
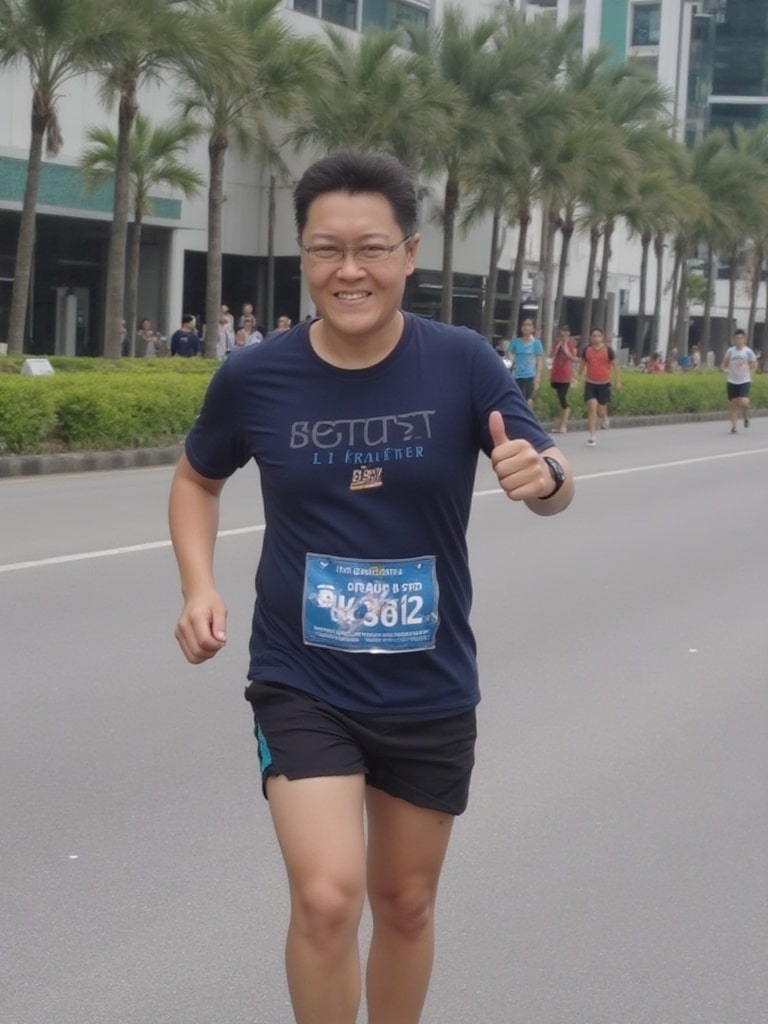
To train an AI on our face, we need to prepare a set of images of our face. To create the training data for the videos above, I used around 30 selfies, as well as photos that others took of me, at different angles, and with different expressions.
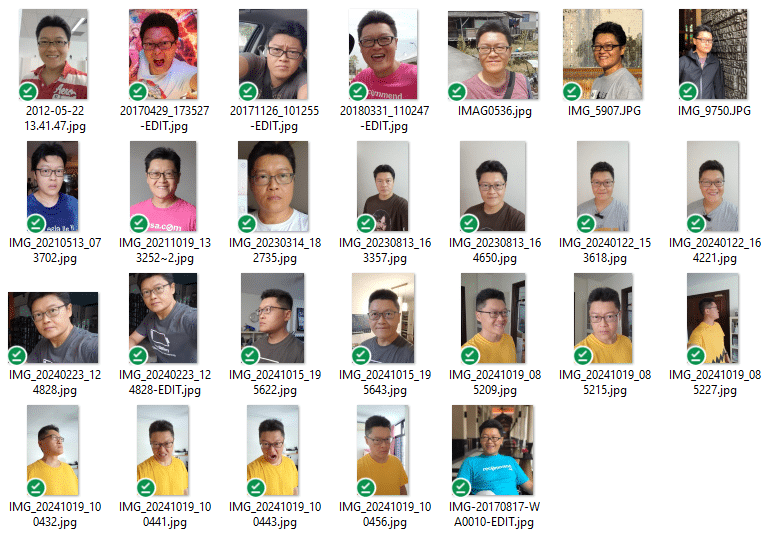
The important thing here is to make sure that the images are sharp, and that your features are clearly visible with enough light. So try not to use a crop of your face from a group photo.
We will upload the images into a LoRA training tool, which stands for “low-rank adaptation”. It’s like creating a mini model of your face. At the end of the training process, I will get a file that I can plug in to the image generation tool.
The LoRA training tool that I am using is called FLUX LoRA. And one of the places you can run this training is fal.ai.
After you upload your images, you also need to include a trigger word. In this case, my trigger word is “alex2”. Later, when you generate new images, you will add your trigger word into your text prompt.
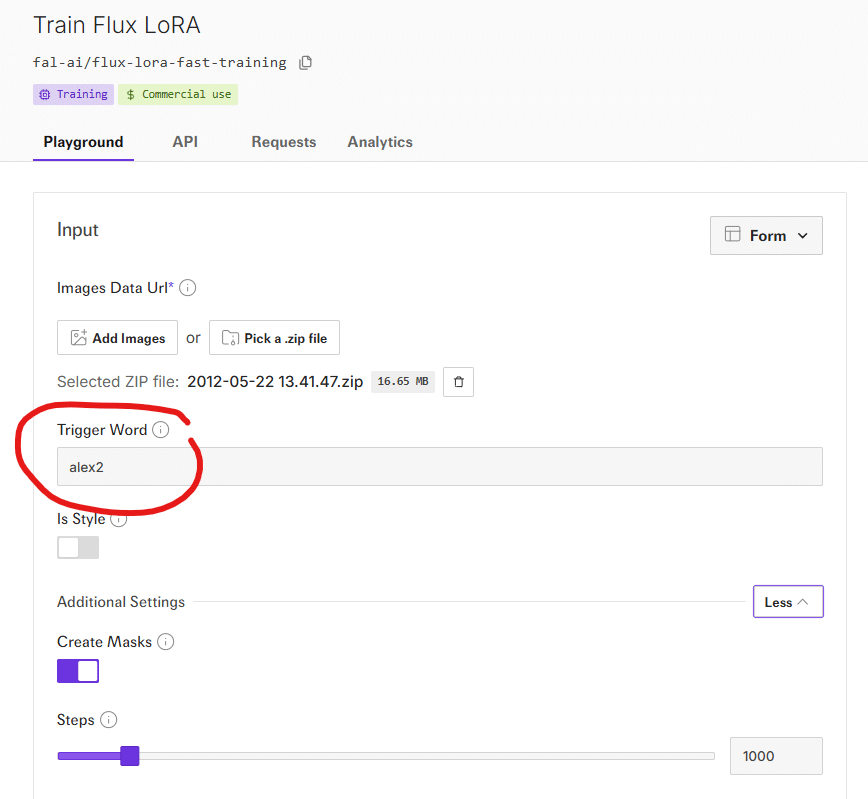
The training takes around 5 minutes to complete, depending on how many images you have.
Once the training file is done, you can move to the next step to generate new images of yourself.
PART 2: Generate Images
Now that the LoRA training is done, we can start generating new scenarios.
I used ChatGPT to suggest a list of scenes that I can create.
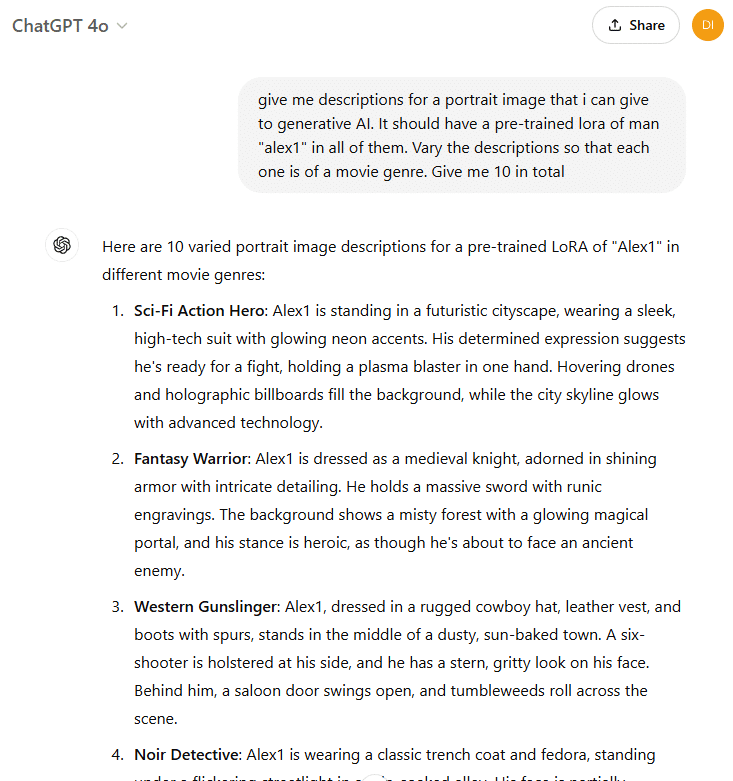
For example, to generate this image of myself in a zombie apocalypse, i used this prompt:
“Man alex2 is dressed in tattered clothing, carrying a rusted shotgun on his shoulder. The background shows a desolate, crumbling city with burning wrecked abandoned cars and overgrown vegetation. His expression is tense, reflecting the harsh world he lives in”
You can see that I included my trigger word “alex2” in the prompt. This is what tells the image generation to use the LoRA that we created earlier.
You will need to use a text-to-image generation model that includes support for LoRA files, or else it won’t work. I used FLUX.1 [dev] with LoRAs.
Load the LoRA, input your prompt and trigger word, and submit. As the image is generated, the model will be fine-tuned with your training data, so that your face appears in the image.
Here are some images I generated:
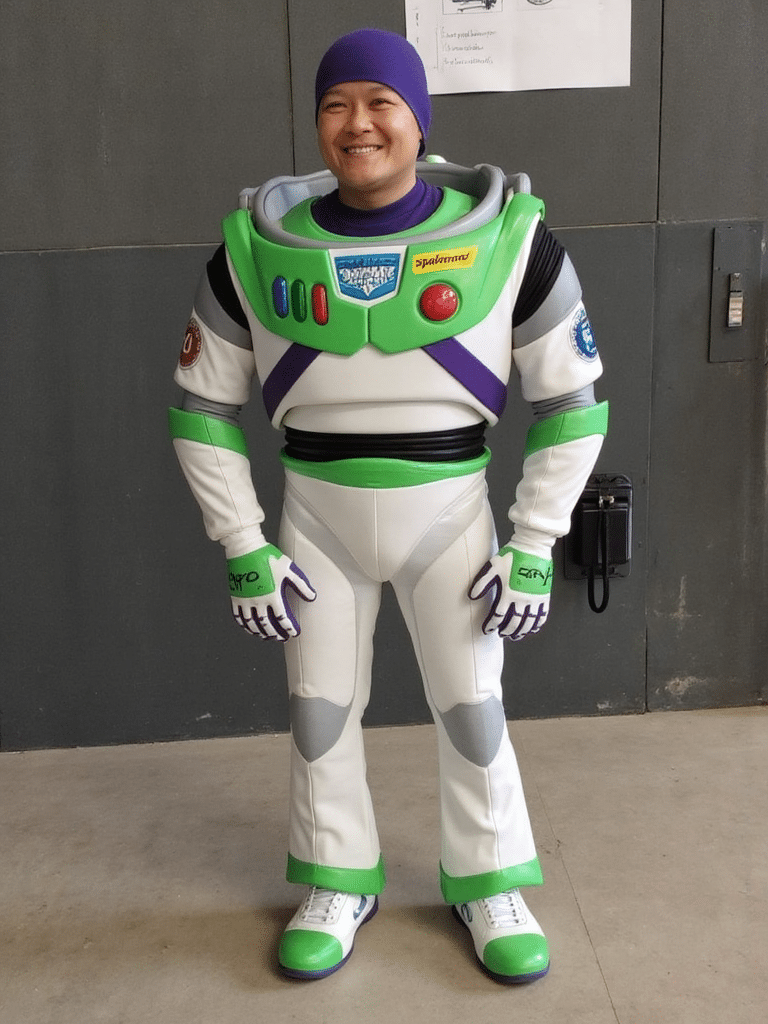
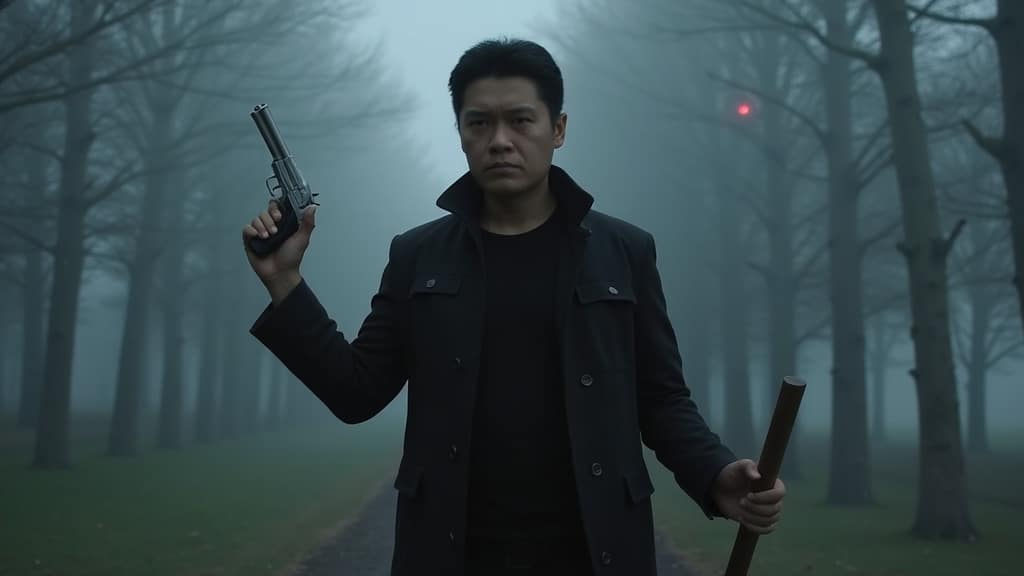
You will probably need to re-roll your image generations several times to get the look you want.
To adjust the output image to get the look that you want, you can play with a few things:
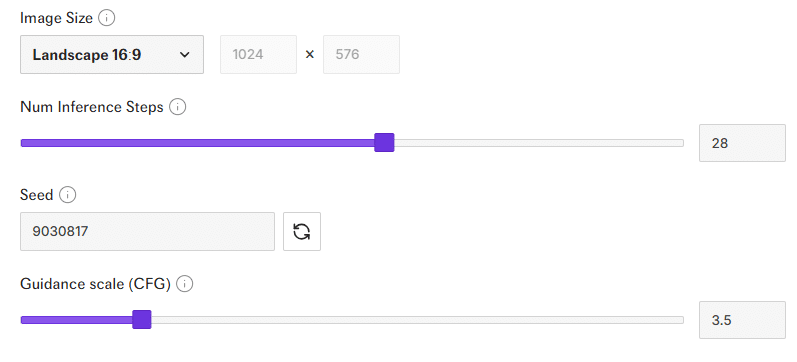
- Seed number. This is a random number that you include in the image generation. If you use the same number every time, you will always get the same image. Incidentally, this is how Minecraft maps are generated.
- Inference steps. This is the number of steps to generate your output. At step 1, the image is just a mass of noise. After every step, the image will get clearer, and closer to your prompt. In the screenshot above, the number is set at 28. If you go too high, the image generation will take longer, cost more, and give only incremental improvements.
- Guidance scale. This is a number that determines how closely the image will follow your text prompt. The lower the number, the more freedom the model will have to generate a creative image. But it may also produce crazy and unnatural poses.
In general, I will try different seed number and guidance scale combinations until I get the composition that I want. Then I will keep that seed number and guidance scale, while adjusting the inference steps.
After I get the composition I want, I will adjust the…
- LoRA Scale. This is a number that sets how much weight your training data will influence the final image. The higher the number, the closer it will look like your selfie.

Once you have an image you like, save it and move on to part 3 to generate videos
PART 3: Generate AI video
Now you will take your image and load it into an image-to-video generation tool. In this example, I am using klingai, but there are other platforms like runwayml and pika
Klingai lets you upload the image that you generated earlier as a reference image, as well as input a text prompt. In your text prompt, you don’t have to describe the contents of the image all over again, and you also don’t have to include your LoRA trigger word.
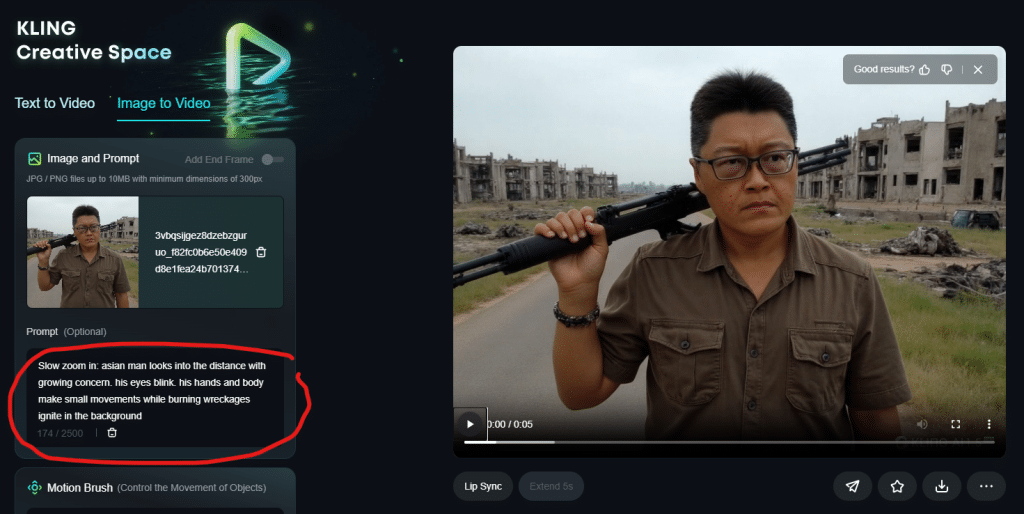
Instead, the text prompt is used to describe the cinematography. For example, what is the camera movement? And what is the style of the shot?
So, in the example of the zombie apocalypse, i wanted the camera to remain relatively static.
“Slow zoom in: asian man looks into the distance with growing concern. his eyes blink. his hands and body make small movements while burning wreckages ignite in the background”
The results can be hit and miss. If there is a lot of camera movement, your face can become distorted. But the camera stays relatively still, you can get something quite cinematic.
Here are some videos I generated:
These tools are not free, since you need to pay for the computing power to do all the training and image and video generations. But for a marketing team on a tight budget, it’s possible to create new ads and interesting content with this.
Give it a try and let me know if you need help!



Leave a Reply